Widgets
Plugins consist of a single "index widget" and multiple normal widgets. The index widget is located in index.ts and is responsible for registering all of the normal widgets, commands, custom CSS and other contributions your plugin provides. Normal widgets are React components which can be embedded into RemNote at predefined locations.
The Index Widget
 ┣ 📂 src
 ┃ ┣ 📂 widgets
 ┃ ┣ ┃ 📜 index.tsx
 ┃ ┃ ┗ 📜 widget1.tsx
The index widget for a plugin is located in /src/widgets/index.ts. The code in this file can be considered the entrypoint for your plugin.
Lifecycle Methods
There are two main plugin lifecycle methods declared in /src/widgets/index.ts which get called by the RemNote plugin system.
onActivate
The onActivate method initializes your plugin and registers all of your plugin contributions. Below you can see some examples of registering various kinds of plugin contributions. For a full list of contributions that plugins can add to RemNote, check the contributions documentation page.
async function onActivate(plugin: ReactRNPlugin) {
  await plugin.app.registerPowerup(...);
  await plugin.app.registerWidget(...);
  await plugin.app.registerSidebarButton(...);
  await plugin.event.addListener(...);
}
Note that for native plugins, any event listener subscriptions you add in the onActivate method should be removed in the onDeactivate method to avoid memory leaks. Don't worry about that for now.
onDeactivate method
The onDeactivate method is called when native plugins are unloaded. This is where native plugins should remove any event listeners added to avoid memory leaks. As mentioned above, this is not necessary in sandboxed plugins.
async function onDeactivate(plugin: ReactRNPlugin) {
  await plugin.event.removeListener(...)
}
Creating Widgets
Widgets can be created in two simple steps:
- Add a new
yourWidgetName.tsxfile in thesrc/widgetsfolder - Register the widget by calling the
plugin.app.registerWidgetmethod in theonActivatehook of thesrc/widgets/index.tsfile.
Example
- Add a new file called
right_sidebar.tsxinsrc/widgetsand add this template:
import { renderWidget } from '@remnote/plugin-sdk';

function MyWidget() {
  return <div>My Widget</div>;
}

renderWidget(MyWidget);
- Register your widget in the
index.tsxfile:
import { WidgetLocation, declareIndexPlugin } from '@remnote/plugin-sdk';

async function onActivate(plugin: ReactRNPlugin) {
  await plugin.app.registerWidget(
    'right_sidebar',
    WidgetLocation.RightSidebar,
    {
      dimensions: { height: 'auto', width: 350 },
      widgetTabIcon: 'https://i.imgur.com/MLaBDJw.png',
    },
  );
}

async function onDeactivate(plugin: ReactRNPlugin) {}

declareIndexPlugin(onActivate, onDeactivate);
Here's how the widget should look when you open it in the right sidebar:
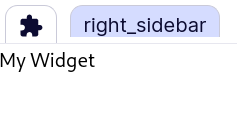
Note: you must make sure that you pass the file name of the widget (without the extension) as the first parameter to the registerWidget function. In the example above, we saved the new widget file as right_sidebar.tsx, so the first parameter to the registerWidget function should be right_sidebar.
Widget Locations
Widgets can render in pre-specified locations within RemNote. See widget locations for all of the available locations. Noticed something missing? Request new widget locations on our feedback platform!
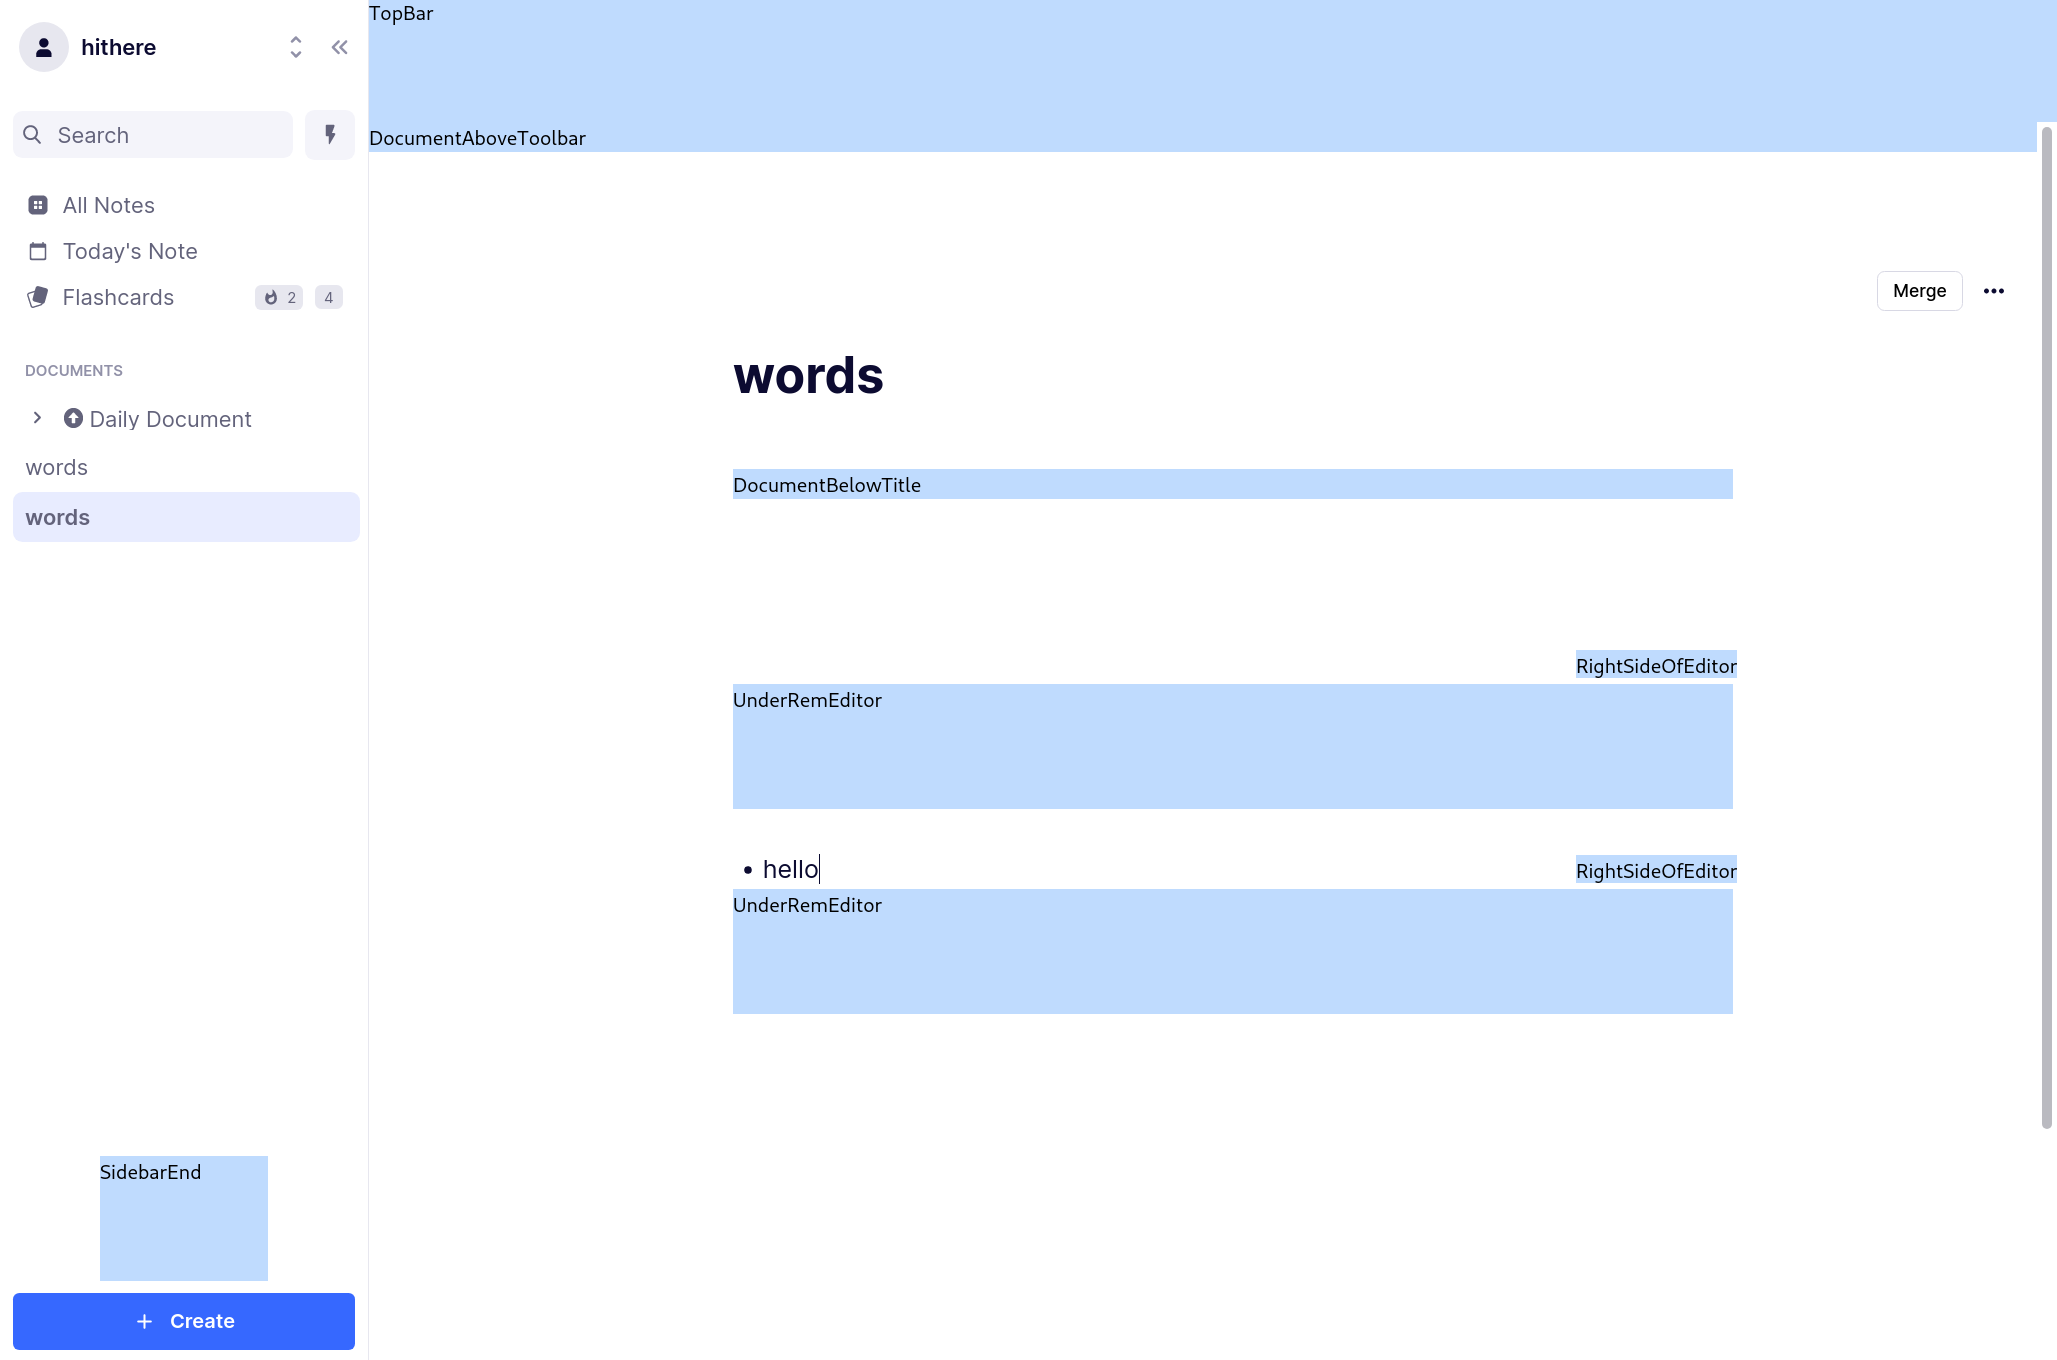
Here's a screenshot showing the widget locations available in the document view. The blue regions are widget locations where you can render custom UI components:
Widgets that render in tabs can declare a widgetTabIcon with an image URL which will be displayed in the tab as well as a widgetTabTitle.
Tabbed widgets:
- RightSidebar
- SelectedTextMenu
Floating Widgets
You can create floating widgets which render in popup windows which can be positioned anywhere on the screen.
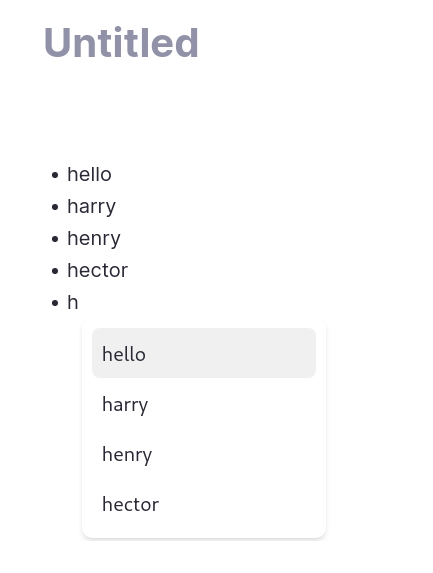
Here's an example of a floating widget in the autocomplete plugin:
To open a floating widget, first register the widget with the plugin system as normal:
await plugin.app.registerWidget(
  'floating_widget',
  WidgetLocation.FloatingWidget,
  {
    dimensions: { height: 'auto', width: 350 },
  },
);
Then use the plugin.widget.openFloatingWidget method to open the floating widget.
const floatingWidgetId = await plugin.window.openFloatingWidget(
  'floating_widget',
  { top: 20, left: 40 },
);
You can specify the position of the floating widget as the second parameter. You can also provide a third parameter which is a classname to position the widget relative to. We recommend looking at the custom css documentation to pick a suitable classname.
Note that the openFloatingWidget method returns a unique floating widget id for the current instance. You can use this to close this specific widget instance by passing it to the plugin.window.closeFloatingWidget method.
Popup Widgets
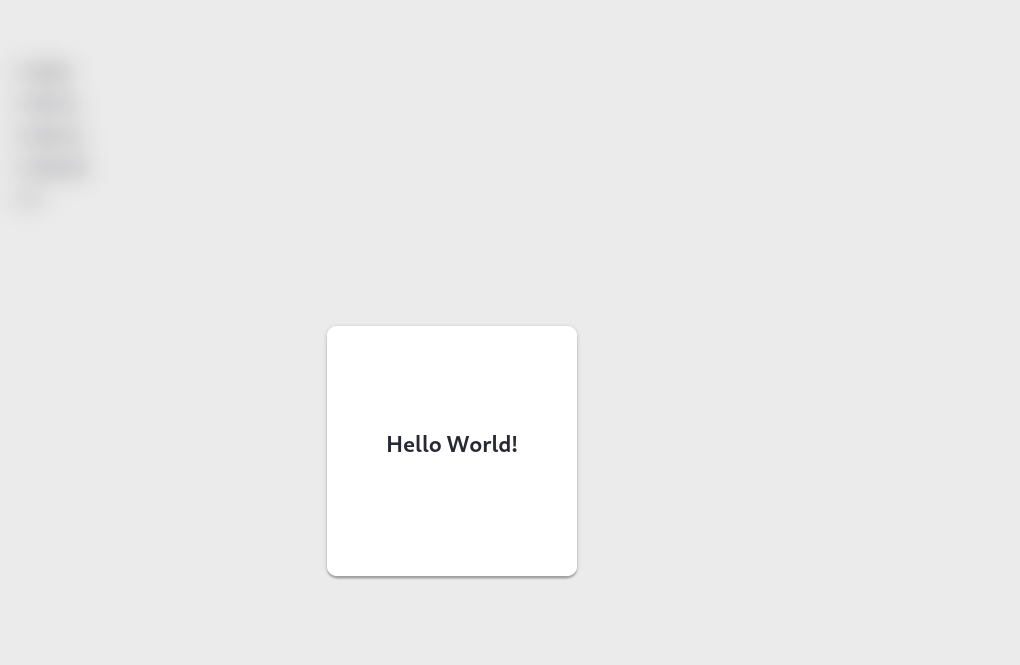
You can open a widget inside a popup modal:
To do so, register a widget in the WidgetLocation.Popup location:
await plugin.app.registerWidget('popup', WidgetLocation.Popup, {
  dimensions: { height: 'auto', width: '250px' },
});
Then call plugin.widget.openPopup and plugin.widget.closePopup to open and close the modal.
Pane Widgets
You can also open a widget inside its own multiple panes window.
To do so, register a widget in the WidgetLocation.Pane location:
await plugin.app.registerWidget('pane', WidgetLocation.Pane, {
  dimensions: { height: 'auto', width: '250px' },
});
Then call plugin.window.openWidgetInPane and plugin.window.closePane to open and close the widget.
Powerup Filters
Widgets that render on specific Rem can have a powerupFilter applied so that they only render for Rem tagged with a specific powerup. For example, a widget with the Flashcard WidgetLocation should have a powerupFilter so it only renders on the appropriate flashcards.
Widget Dimensions
You can customize the dimensions of your widgets through the dimensions parameter in registerWidget. This parameter takes an object with a height and width argument.
Dimension types:
| Type | Description |
|---|---|
| auto (Default) | Passing "auto" automatically expands your widget's size to contain its content. |
| Fixed numbers | Passing in a number sets the dimension to a fixed number of pixels. For example, setting width: 300 sets the widget to a fixed width of 300px |
| Percent of container | Passing in a string ending in a '%' character sets the dimension to that percent of the surrounding container's size. For example, setting width: '100%' sets the width to 100% that of the container (Percentages can only be applied to width, not to height.) |