Step 5 - Flashcards
For the final part of the tutorial we are going to add some code to allow the user to import definitions into their knowledgebase and create flashcards.
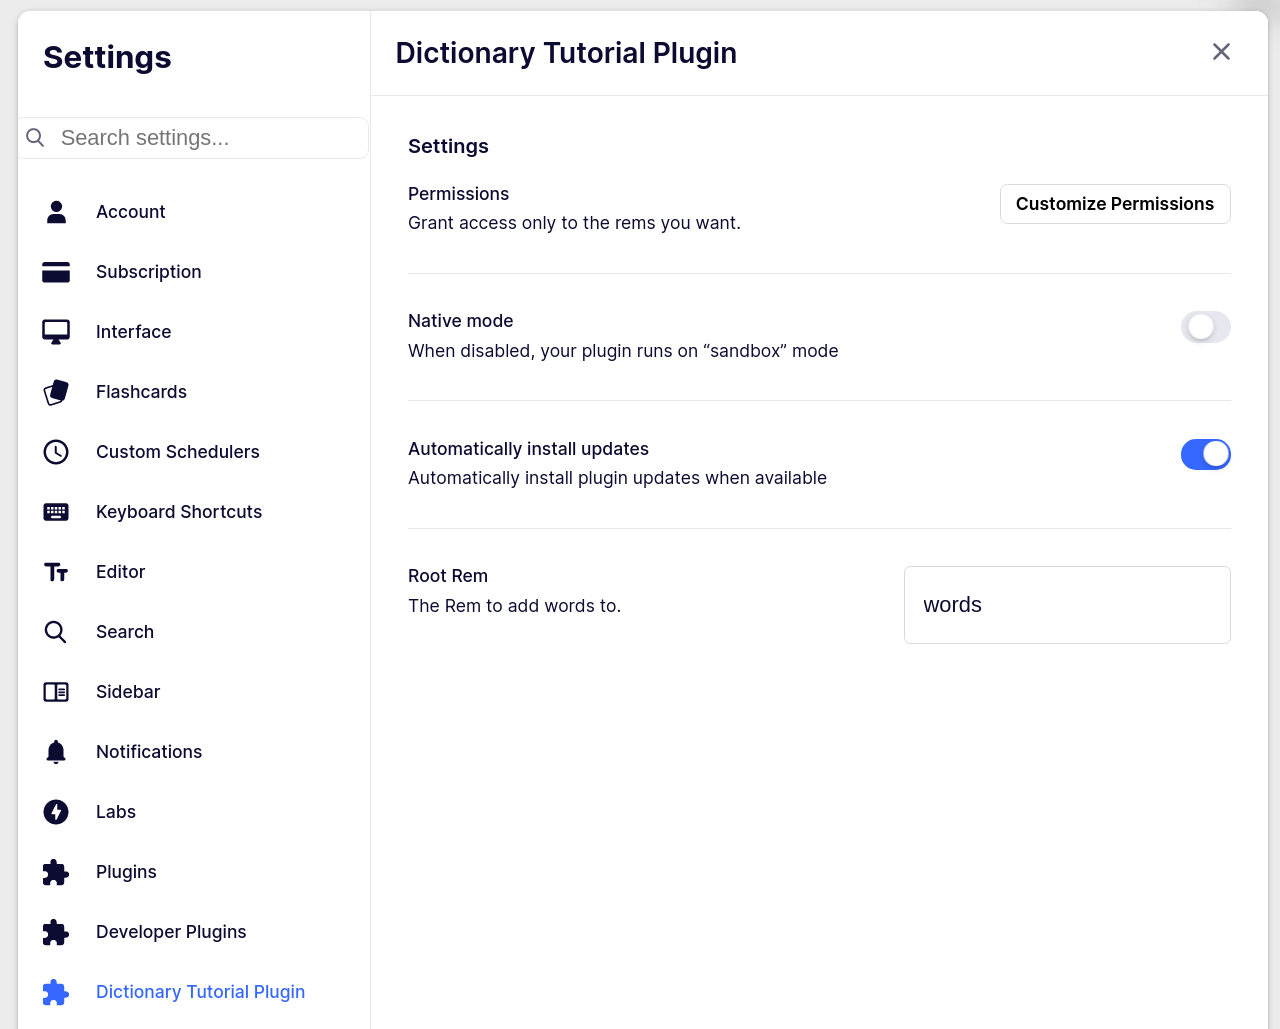
Settings
The first we should do is add a plugin setting so the user can customize where they want the imported definitions to get added. To do this, go to the onActivate method in index.ts and use the registerStringSetting function in the settings namespace to create a setting.
await plugin.settings.registerStringSetting({
  id: 'dictionary root',
  title: 'Dictionary Root Rem',
  description: 'The Rem to add words to.',
});
Any settings we register in onActivate will appear in the standard RemNote Settings UI and are automatically synced across devices. You can also register number, boolean and dropdown settings.
See the settings documentation for more details and examples.
Creating Rem
We are going to add a function to selected_text_dictionary.tsx called addSelectedDefinition which will be responsible for adding a definition to the user's knowledgebase:
import { RNPlugin } from "@remnote/plugin-sdk";
import { GroupedDefinition } from "../models";

async function addSelectedDefinition(
  plugin: RNPlugin,
  definition: GroupedDefinition
): Promise<void> {
  ...
}
The first thing we need to do is find the Rem the user wants definitions to be added under:
async function addSelectedDefinition(
  plugin: RNPlugin,
  definition: GroupedDefinition,
): Promise<void> {
  // Find the root Rem where we want to add the word defitions as children.
  // Note: findByName with null as the parentId parameter will search only
  // top level rem in the user's knowledgebase! If the root Rem is a child of some
  // rem, findByName will return undefined.
  const rootRemName = (await plugin.settings.getSetting(
    'dictionary root',
  )) as string;
  const rootRem = await plugin.rem.findByName([rootRemName], null);
}
Since the plugin user might have forgotten to set the name of the Rem they want words to be added under in the settings, we should remind them to set it using a toast notification.
const rootRemName = (await plugin.settings.getSetting(
  'dictionary root',
)) as string;
if (!rootRemName) {
  plugin.app.toast('You need to set the Dictionary Root Rem setting!');
  return;
}
const rootRem = await plugin.rem.findByName([rootRemName], null);
if (!rootRem) {
  plugin.app.toast('Failed to find the root rem');
  return;
}
The toast function allows us to send popup notifications to the user. It is useful for communicating errors and sending reminders.
Next we need some code to create a Rem as a child of the dictionary root Rem. First, to create a new Rem we use the plugin.rem.createRem function:
const word = `${definition.word} (${definition.partOfSpeech})`;
const definitions = definition.meanings
  .map((meaning) => meaning.definitions.map((def) => def.definition))
  .flat();
const wordRem = await plugin.rem.createRem();
The createRem function returns a RemPluginObject which has all of the fields and methods we need to modify and move Rem. For example, to set the text of the Rem we can use the wordRem.setText() function, to set the parent of the Rem we can use the wordRem.setParent() function and to set the answer side of the flashcard we use the wordRem.setBackText() function.
if (wordRem) {
  // Set the key to the word.
  // This will show as the question side of the flashcard.
  await wordRem.setText([word]);
  for (const def of definitions) {
    // Add the definitions as children of the wordRem
    // Set each child to be a card item.
    // These will show as the answer side of the flashcard.
    const child = await plugin.rem.createRem();
    await child?.setText([def]);
    await child?.setParent(wordRem._id);
    await child?.setIsCardItem(true);
  }
  // To make the wordRem a child of the rootRem, set its parent
  // to the rootRem.
  await wordRem.setParent(rootRem._id);
  // Practice the flashcard in both directions
  await wordRem.setPracticeDirection('both');
  // Success!
  plugin.app.toast('Added!');
} else {
  plugin.app.toast('Failed to save the word to your knowledge base.');
}
Here's the Rem structure which will get created from the code above:

Save button
Now all we need to do is call this function with the correct arguments when the user clicks on a save button in the selected text menu popup window.
Go back to the SelectedTextDictionary component and change the onSelectDefinition callback prop in the PreviewDefinitions element to call the addSelectedDefinition function we just made:
return (
  <div className="min-h-[200px] max-h-[500px] overflow-y-scroll m-4">
    {wordData && (
      <PreviewDefinitions
        wordData={wordData}
        onSelectDefinition={(d) => addSelectedDefinition(plugin, d)}
      />
    )}
  </div>
);
Permission settings
There is one last thing we need to take care of before we can test the final version of the plugin - permissions. Currently our plugin does not have the required permission level to create Rem in the user's knowledgebase. To fix this, open the manifest.json configuration file, find the field called requiredScopes and modify it so it matches the JSON below:
"requiredScopes": [
  {
    "type": "All",
    "level": "ReadCreateModifyDelete"
  }
]
This will give the plugin access to all Rem in the user's Knowledge Base and will allow the plugin to read, create, modify and delete Rem. To learn more about the available permission scopes read the plugin permissions documentation. For the plugin configuration changes to take effect, you should restart your plugin.
Now you should be able to test the final version of the plugin!
If you still have the plugin running from the test we did earlier, the plugin should have automatically refreshed itself in response to the changes you made. Otherwise you will need to open a new terminal inside the plugin folder, and run:
npm run dev
Congratulations! You have successfully completed the plugin tutorial!