Setup
Let's quickly initialize a new repository based on the plugin template.
Create a new repository from the template
- Navigate to the main page of the plugin template repository on GitHub.
- Above the file list, click the green button which says "Use this template".
- Select the account you want to own the repository.
- Type a name for your repository, and an optional description.
- Choose a repository visibility.
- Click "Create repository from template".
Clone your new repository from GitHub
Now let's download a local copy of the new repository you just created:
- Browse to your new GitHub repository
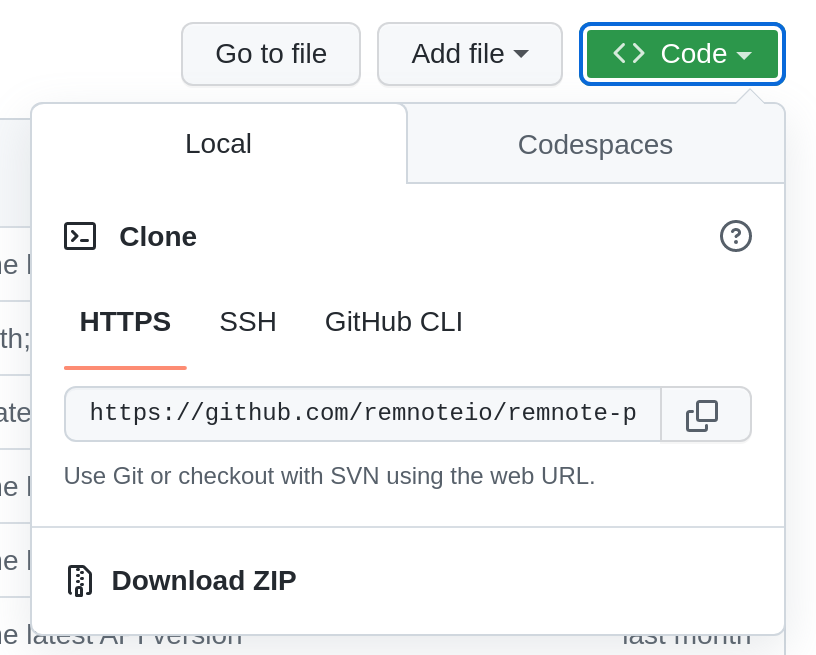
- Click on the Clone or download button
- Press "HTTPS"
- Copy the link
- Open a terminal in the directory where you want to clone the repository
- Run
git clone <link>to download the repository.
Project structure
First let's review the structure of the project.
Here's a quick summary of the most important files:
 📦 <your repo name>    - The root of the project
 ┣ 📂 public            - Store static asset files like images here
 ┃ ┗ 📜 manifest.json   - Contains plugin metadata, like the plugin id and author name
 ┣ 📂 src               - Your source code
 ┃ ┣ 📂 widgets         - Your widgets
 ┃ ┣ ┃ 📜 index.tsx     - Entrypoint for the plugin
 ┃ ┃ ┗ 📜 widget1.tsx   - Embeddable widget file which loads a React component
There will also be some other files in the root folder of the project like tsconfig.json and webpack.config.js. These are preconfigured settings files which you shouldn't need to change or understand to develop plugins. (View the plugin structure docs for even more info).
public folder
Inside the public folder you can find the manifest.json plugin configuration file. It provides information like the plugin id, version information and the name of the author. See the plugin manifest documentation page for details on all of the fields inside the manifest file.
Open the manifest.json file and fill in the id, name, author, description and repoUrl fields. These will be used both by the RemNote plugin system to show the user what plugins they have installed, and also in the plugin marketplace so people can find your plugins. Don't worry about filling out the rest of the fields for now. Note that after you ran npm i to install dependencies, a schema.json file should have been generated in the root folder which will be used to provide type hints while editing the manifest file.
Towards the bottom of the manifest file there is a field called requiredScopes which sets plugin permission levels. We'll talk a bit more about plugin permissions and the difference between native and sandboxed plugins later in the series, and you can check out the plugin permissions and security documentation for a deeper discussion.
src folder
The src folder contains all of the source code for your plugin. All of the code related to UI components and interactions with the RemNote API for your plugin will be stored in this directory or in a sub-directory of this directory.
Test-run the plugin
Before we jump into the code, let's get the plugin running inside RemNote and make sure we can see the updated plugin name and description.
Open your terminal of choice in the plugin repository.
Then run:
npm install
This will install all of the project dependencies, along with the RemNote plugin SDK (software development kit).
Start your plugin
Inside the plugin folder, run:
npm run dev
This command will compile and run the project. You can think of it as a tiny website that is embedded into RemNote and exchanges messages back and forth through our API. You can inspect the plugin running on your local machine as a website by navigating to http://localhost:8080 in your web browser. Try opening http://localhost:8080/manifest.json - you should see the plugin configuration file with the edits you made.
Run the plugin inside RemNote
Now lets get the plugin running inside RemNote!
Note: You should always use a dummy knowledgebase separate from your real one when testing and debugging plugins, especially those which have create, update and delete permissions.
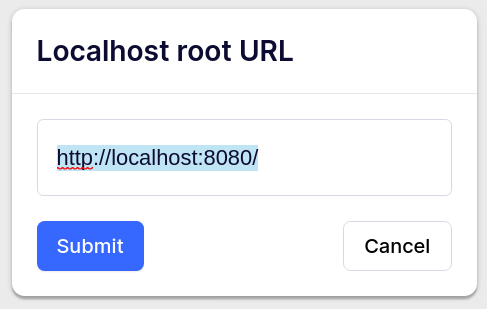
To test the plugin, open RemNote and go to the settings. At the bottom of the settings sidebar on the left click on the "Plugins" sidebar item, then the "Build" tab and click on the "Develop from localhost" button. Enter "http://localhost:8080".
You should recieve a notification that the plugin has been installed. If you inspect the plugin card in the "Build" tab you should also see the updated name and description you added to the plugin manifest.
If you click on the sample_widget tab in the right sidebar, you should see the following UI component:
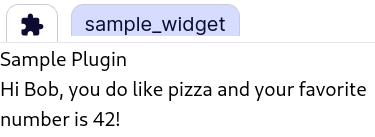
Now we are ready to start digging into the code!