Quick Start Guide
Setup your development environment
You'll need the following software to start developing:
1. Node.js
We will use Node.js to build the plugin.
2. A GitHub Account
We will use GitHub to create a repository for our plugin project based on the template plugin.
3. Git
You will also need to install Git. Check the official guide with instructions for each operating system.
4. An IDE or text editor
We recommend using Visual Studio Code, but any other IDE or text editor will work.
Setup the plugin template
The plugin template is a public Git repository which comes preconfigured with the correct plugin directory structure and default settings so you can skip the boilerplate and focus on implementing your ideas!
Clone the template
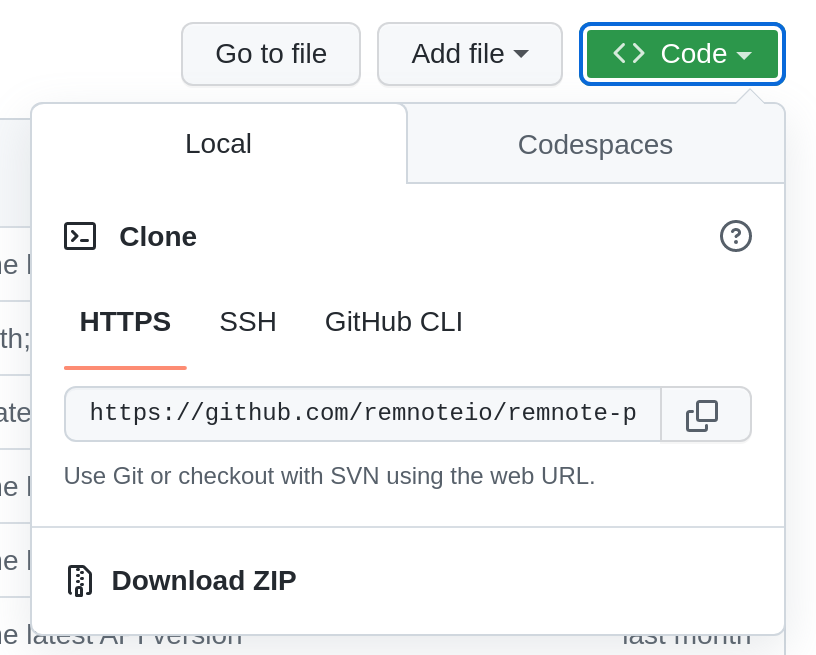
- Navigate to the main page of the plugin template repository on GitHub.
- Click on the Clone or download button.
- Press "HTTPS".
- Copy the link.
- Open a terminal in the directory where you want to clone the repository.
- Run
git clone <link>to download the template repository.
Test-run the template
Open your terminal of choice and navigate into the folder of the repository you just cloned.
Then run:
npm install
This will install a very minimal React App, along with the RemNote plugin SDK (software development kit).
Generate the manifest
Inside the plugin folder, run:
npx remnote-plugin init
This will prompt you for some information which will get automatically saved to the manifest.json metadata file.
Start your plugin
Inside the plugin folder, run:
npm run dev
This should compile and run the template plugin project.
Run the plugin template inside RemNote
The plugin template contains some sample code to test that your development environment is configured correctly. To test the plugin, open RemNote and open the settings modal. At the bottom of the settings sidebar on the left click on the link called "Plugins" and then the "Build" tab.
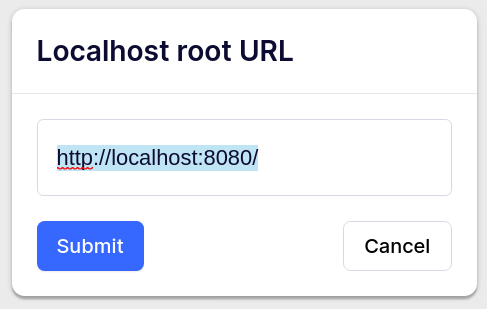
Then click on the "Develop from localhost" button. Enter "http://localhost:8080".
If you get a notification that the plugin has been installed successfully, your development environment has been configured correctly! If you click on the "sample_widget" tab in the right sidebar, you should see an extremely simple example widget:
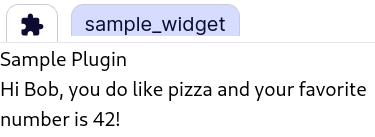
If you change the "Name", "Favorite Number" and "Likes Pizza" options in the RemNote settings modal, then the widget should automatically update with the new information.
Add a new Widget
Let's add a new widget to the plugin.
 📦 <your repo name>    - The root of the project
 ┣ 📂 src
 ┃ ┣ 📂 widgets         - Contains all of your plugin's widgets
 ┃ ┣ ┃ 📜 index.tsx     - Contains the entrypoint for the plugin
- Add a new file called
right_sidebar.tsxinsrc/widgetsand add this template:
import { renderWidget } from '@remnote/plugin-sdk';

function MyWidget() {
  return <div>My Widget</div>;
}

renderWidget(MyWidget);
- Register your widget in the
index.tsxfile:
async function onActivate(plugin: ReactRNPlugin) {
  await plugin.app.registerWidget(
    'right_sidebar',
    WidgetLocation.RightSidebar,
    {
      dimensions: {
        height: 'auto',
        width: 350,
      },
    },
  );
}
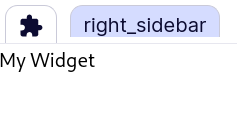
- Restart your plugin, refresh the page and you should see your new widget registered as a tab in the right sidebar:
Plugins Escape Hatch
Visit http://www.remnote.com/notes?disablePlugins to temporarily disable all plugins. This can be used as an escape hatch if you've added a plugin that is preventing you from loading RemNote.
Next steps
Beginners
If you are new to programming, we recommend going through the In-Depth Tutorial. It will equip you with the basic tools you need to start building your own plugins.
Pros
If you are already a React pro, you may still want to go through at least some of the In-Depth Tutorial to understand the basic API functions. Alternatively you can use the rest of the documentation guides as well as the commented source code of the example plugins built by the RemNote team to work out how to implement your plugin ideas.